Push your code onto your EC2 instance with Git
Here is a little thing that has saved me a lot of work, and which I find quite neat.
I use the EC2 as my cloud computer. This page (lovholm.net) is hosted on a shared host, but sometimes it’s nice to have the flexibility to run things that are not supported by shared hosts, such as custom software and all that jazz. When I try out different web-things that are not only front-end or PHP I usually create a subdomain and place the code on an EC2-instance after initial development on localhost.
Since I now use different environments for development I have found this neat way of pushing code from my local computer to the server. This is a lot easier than using FTP, and is more flexible than deploying to Heroku (which is – by the way – a brilliant super-easy way of hosting and deploying).
The idea is very similar to that used by Heroku, except that the setup is more complex and the good terminal tool is lacking. On the other hand it gives you greater flexibility to run your own instance and it may also be more affordable if you plan to make your code into a business with much traffic.
Don’t know what git is, or don’t have git installed. Github has some great documentation on installation and Git on what git is.
Setting up the Git-repositories
Locally I initialise a git repository in the folder I am working.
local $ cd the-amazing-test-project
local $ git init
Then I use SSH to connect to my cloud computer where I have a folder for remote git repositories (I store these in a sibling-folder to the root folders of my projects.)
remote $ cd git-repos
remote $ mkdir testrepo.git
remote $ cd testrepo.git
remote $ git init --bare
When this is done, we need to create a remote-link from the local repository, and create a post-update hook at the remote repository. This will make you able to push the code from the local git-repo onto the server and from there unpack the code and do other neat things like logging and restarting of servers (if necessary).
The cloud instance as remote repository
So now you have a local repository on which you work, commit and track your local files, and you have a bare repository in the cloud. Let’s make the bridge.
local $ git remote add web ssh://ec2-user@yourwebserver.cloud.org/home/www/git-repos/testrepo.git
Create an empty file in the local directory, use
git add .
to add this file to repository, commit the changes to the git repository:
git commit -am "Initial test"
Now you could push the repository to the clouds using:
git push web master
If you get an error message. Make sure that you have added the keys used to connect to the remote host to your ssh-keys. If not, you could use ssh-add to do this. Call the command ssh-add with the key as the only argument.
If you still experience problems. Enter the local repository with your terminal and then change to the .ssh directory where you will find a file named config. This content of the file should be something similar to this:
[core]
repositoryformatversion = 0
filemode = true
bare = false
logallrefupdates = true
ignorecase = true
precomposeunicode = false
[remote “web”]
url = ssh://ec2-user@yourwebserver.cloud.org/home/www/git-repos/testrepo.git
fetch = +refs/heads/*:refs/remotes/origin/*
Add a hook for deployment
Once you have a connection between the local and remote repository, we need to make a way for the remote repository to deploy our code and not just keep it safe and sound. Connect through ssh to the terminal of your remote computer and change into the git-repos directory and your testrepo.git folder.
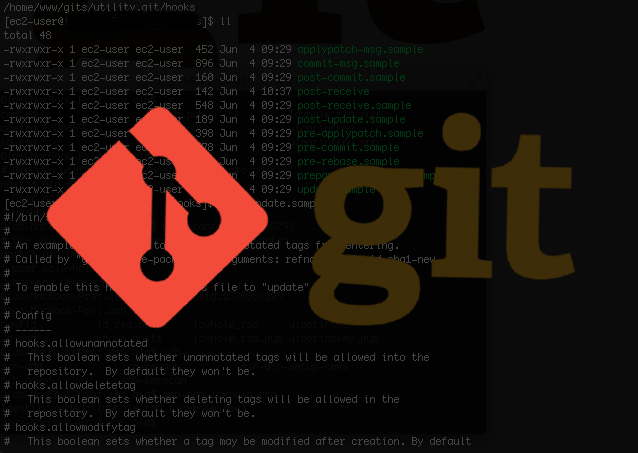
Within this folder you should have a folder with hooks, and it is here we are going to add the last pieces of code to get our system up and running. We will utilize the server-side hook post-update to deploy our code and do other tasks needed. The post-update hook is a shell script which git executes after receiving a push. Add to this the following code:
#!/bin/sh
GIT_WORK_TREE=/home/www/amazing_web git checkout -f

echo "the_amazing_web_project checkin at: <$(date)> " >> /home/www/logs/updates_log
The second line in this code excerpt will extract the data (when adapting this snippet, make sure the path after the equal sign is created), and the fourth line will add to a logfile the name of the project and the date.
You can now commit code to your remote server easy, and if you need to do any changes like rebooting the web-server you can add the code to the post-update script.
6 thoughts on “Push your code onto your EC2 instance with Git”
Thank you ! This helps. Except you might want to change the post-receive to post-update for Git 2.0 now.
Thank you for your feedback! I’ll look into it and update accordingly.
Hi Kiran, thank you for the tip. Now updated from post-receive to post-update
This worked great for me. Was having a nightmare sending zip files over SCP, thanks so much Ola
Hi, How can I upload the files that I just changed? For example, I have files of type “error.log” that are empty in my repository, but that same file has information generated on the server. If I use this method, the file will be changed to the one I have empty in my repository. And I do not want that.
Hey Guillermo! This post is fairly old, but in principle things should still work. As for files that are changed on the server e.g. the logs, I would keep them outside the repository. See this page on logging: https://www.loggly.com/